Valuable Online Resources
MiataTurbo Forums (Use the search tool or be banned by angry hairdressers)
Download TunerStudio & Mega Log Viewer
Engine Displacement Calculator
Where did you get your roll bar?
Flyin’ Miata 1.6 -> 1.8 Swap Kit
Is it better to start with a 1.8L or a 1.6L Miata for a turbo build?
Easy. Buy a 1.8L and never look back. Key benefits are: More displacement (faster spool-up), stronger differential, better ignition, sequential fuel injection, better head (especially 99+), better intake manifold… the list goes on. People, including myself, usually end up with a 1.6L turbo car for a couple of reasons: They already had the car and didn’t want to bother with swapping engines, or they got a good deal on a 1.6L car (they usually are cheaper) and probably never intended on boosting it. Either way, in the long run, the 1.8L engines (Both NA and NB) are higher performing. Oh, and don’t forget that all 1.8L cars have a much stronger 7” differential! (This can be swapped into a 1.6L car, but a typical Torsen LSD swap is around $700).
I want to boost my Miata, but I don't really know anything about turbo Miatas...
You’re in the right place. The best place to start is to read this whole thread:
http://www.miataturbo.net/diy-turbo-discussion-14/diy-faq-all-your-answers-one-big-post-4288/
And watch these videos:
That will get you started. Also cruise around the MIATATURBO forum for a while, just reading posts and gathering as much knowledge as you can. I did around a year of research before buying a single turbo part for my car, and it paid off. (And don’t get discouraged in the beginning, there is a LOT to learn but you just need to take it one step at a time.)
How much boost/horsepower/torque can my stock parts handle?
To be clear, torque is typically what ends up breaking things. I’ve had so many people ask what the “max psi” the stock internals can handle is, but there are so many other variables involved. One turbo might make 240whp @ 18psi, another might make 240whp @ 13psi. Both are equally stressful on the mechanical parts. (More psi just makes more heat which can lead to detonation, so it is a factor). Just to give you a general guideline, these are the somewhat “accepted” maximum values:
1990-1993 1.6L Differential (Open & VLSD): 200wtq || Common upgrade: 1994-2001 Torsen LSD
1994-2005 1.8L Differential (Open, Torsen, & TFG CLSD): 350wtq || Common upgrade: V8 Roadsters Getrag Swap
1990-1993 (1.6L) Clutch: 150wtq || Common upgrade: Flyin’ Miata or ACT
1994-2005 (1.8L) Clutch: 170wtq || Common upgrade: Flyin’ Miata or ACT
5-Speed Transmission (1990-2005): 240wtq || Common upgrade: Miata 6-speed Trans
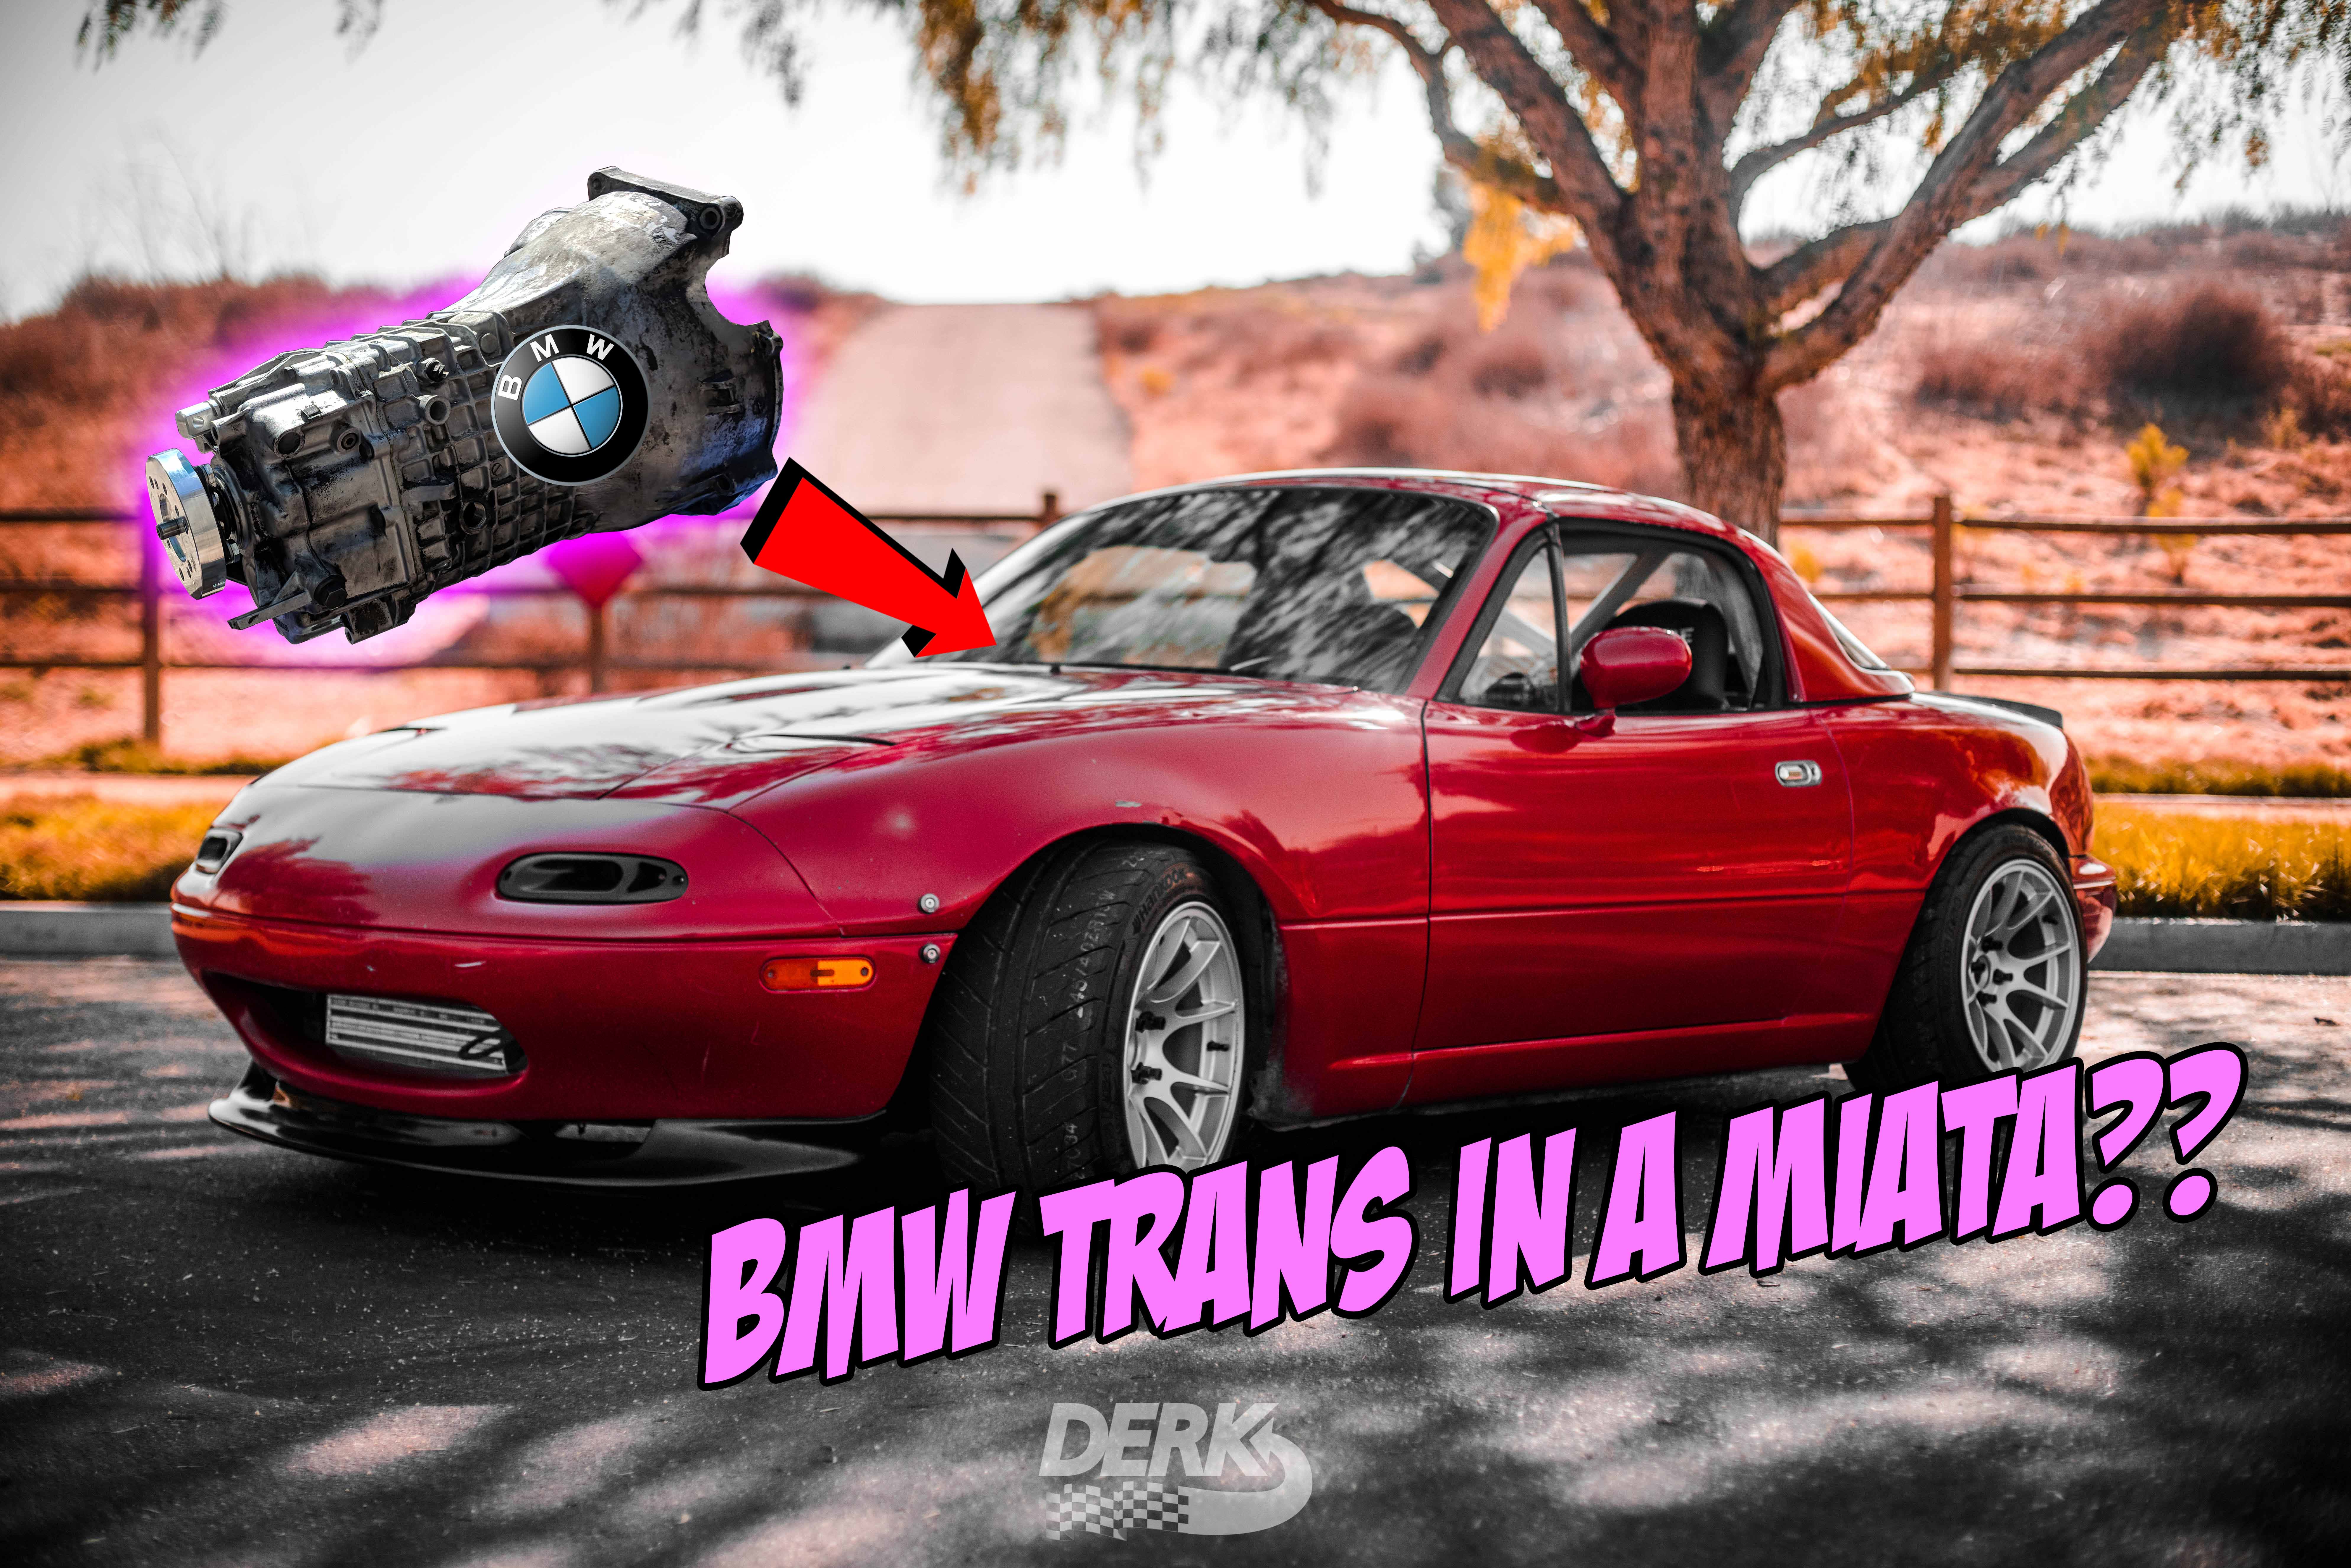
6-Speed Transmission (1999-2005): 280wtq* || Common upgrade: FC RX7 Turbo II or Kmiata BMW Trans Swap
Connecting Rods (1990-2005): 240wtq || Common upgrade: Manley Forged
Oil Pump (1990-2005): 240-280whp** || Common upgrade:Boundary Engineering
*Results may vary greatly with this trans. It’s definitely stronger than the 5-speed as some people get away with 400wtq+ on it, but you are on very thin ice above 300wtq depending on the use of the car. Highly recommend using a sprung clutch to help absorb shock input, and at high power be really careful on banging the 3-4 shift. I killed a 6-speed in 2 days after only a few hard 3-4’s, there is a specific weak point on 4th gear that cannot handle a lot of shock, eventually causing the trans to try to go into 3rd and 4th at the same time. More info here.
**Above this, for safety it’s highly recommended to upgrade to an ATI Super Damper, Boundary Engineering Oil Pump, or both. The stock oil pump gears can crack from excess crankshaft vibrations once the stock damper is overwhelmed.
Please keep in mind that plenty of people have broken parts below theses values, and plenty have gone past. There are a lot more variables involved with breaking parts than how much power your car made one day on one dyno pull. How you drive is a big part of it; clutch kicks and wheel hop breaks transmissions and diffs with a lot less torque because you’re shocking the drivetrain. Also, you could make 1000wtq but if you’re on all seasons in the rain, you’re probably not going to break anything.
How were you able to get 270+whp from a bone stock Miata engine without breaking things?
There are a few factors involved with this. Knowing that the stock connecting rods tend to give up somewhere between 250-260wtq, I made sure to always stay below that. Understand the relationship between torque and horsepower: TQ X RPM / 5252 = HP. This means if you can generate 225.1wtq @ 7000rpm, you have broken the 300whp barrier without going over the accepted safe torque threshold of the stock connecting rods. That was my goal before things went south with the engine.
Why doesn’t everyone try that? A few reasons. For starters, most people have their car tuned by someone else. That tuner, despite having you sign a piece of paper releasing them from liability of your engine falling apart, still doesn’t want your engine to fall apart. So you usually end up with a nice conservative tune, 180-220whp. You can run the car harder and have a larger margin of error at this power level. Since I tuned the car myself, I can take whatever risks I want and it’s my own fault if the car blows up.
Reason #2: Boost control. I learned that on my specific setup, it would have taken around 19psi to make 225wtq @ 7000rpm (~300whp). The problem is that if the turbo were to make 19psi @ 4800rpm, the car probably would have put down 260+wtq because the engine is so much more efficient at that rpm. I couldn’t just set the boost control to 19psi and call it safe, I had to run what’s called boost taper. I ran 12.5psi @ 5000rpm (which still put down 225wtq mind you) and taper up to 19psi at 7000rpm. Ever notice how a turbo Miata dyno always starts dropping off after 5000rpm? Boost taper helps keep that torque curve flat.
I think the E85 probably made things safer as well. Some theorize that since E85 has a slower burn compared to 91/93 octane, it has a lower peak cylinder pressure and is easier on the rods. (Yet it has a higher average cylinder pressure, which is why it can make more power). It sounds like a reasonable idea, but I’m not a physicist so I can’t say for sure. The E85 does allow for a lot more ignition advance though.
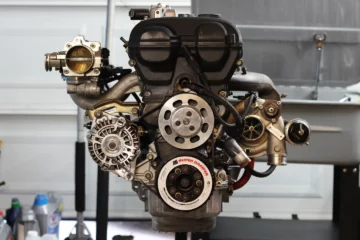
What's Your Mod List?! (The blown up 1.6)
| Engine |
OEM 1.6L Long Block @ 214,652 Miles (R.I.P. 6/26/2016)
Garrett GT2554R / Garrett GT2860R (See dynos below)
K&N 3” Filter
Full 2.5” DIY Intercooler Piping
CX Racing 27”x7”x2.5” Intercooler
“Type-S” Knockoff BOV
Begi Directed Pulses Cast Manifold
Begi Separated Gases Downpipe (Modded to full 2.5”)
2.5” Catless Exhaust / Dynomax Race Bullet Muffler (Full V-Band)
Five-O Motorsports Black Ops 750cc Injectors
Five-O Motorsports 340LPH Fuel Pump
LS2 Truck Ignition Coils
NGK BKR7E Plugs
Fidanza 7lb Flywheel (200mm)
SuperMiata Pressure Plate / ACT 6-Puck Sprung Race Disc (200mm)
Garage Star 1.8L Billet Water Pump Pulley
Garage Star 1.8L Billet Alternator Pulley
ATI Super Damper
Gates Racing Kevlar Timing Belt
1997 5-Speed Transmission + Driveshaft
2002 Type II 3.909 Torsen LSD / 99+ Axles
Megasquirt MS2PnP w/ AFM Delete + Seq. Inj. + VTPS + E85 + EBC
Tuned by Myself & Advanced Engine Dynamix
Multiple phases of tunes, turbos, and fuels:
-First ever boosted dyno pull, self street tuned by complete noob (me): (May 2014)
—174whp @ 6900 / 156wtq @ 5700 (10psi, Begi Churbo, 91 Octane)
-After Toby tuned the car, had a couple small setup issues still at this point: (May 2014)
—209whp @ 6800 / 181wtq @ 5500 (12psi, Begi Churbo, 91 Octane)
-Small issues fixed, back in Toby’s hands for a little more. Just 230 and I’ll be good. (March 2015)
—236whp @ 6800 / 215wtq @ 4500 (14psi, Begi Churbo, 91 Octane)
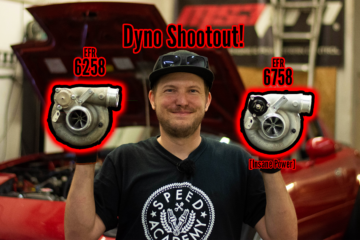
-Okay it’s time to jump into the big leagues with a ball bearing turbo. Look at the gain at 3700: (August 2015)
—254whp @ 6700 / 231wtq @ 5200 (13psi, Garrett GT2554R, E85)
-I think this motor is good for more power. Throw a billet compressor wheel & more boost at it. (February 2016)
—276whp @ 6300 / 241wtq @ 5200 (13.0 – 15.5psi taper, Garrett “GTX”2554R, E85)
-I mean it’s probably not a smart idea to put a bigger turbo on this thing. *Installs bigger turbo* (June 2016)
—295whp @ 6600 / 235wtq @ 4900 (12.5 – 18.0psi taper, GT2860R .86a/r, E85)
| Tires/Brakes |
Rota Grid Concave 15×9 et16 (20mm VMR Spacers)
Nitto NT-01 225/45R15
Muteki Extended Steel Lug Nuts
Wilwood 11” Front Brakes
Garage Star Brake Master Cylinder Brace
949 Racing SS Brake Lines
Wilwood Proportioning Valve
Carbotech AX6 Rear Brake Pads
Motul DOT4 Brake Fluid
| Interior/Electronics |
Bride Replica Bucket Seat
Pro Car Innovations Solid Seat Mount
Takata Drift III Harness
Redline Goods Shift Boot
Grip Royal Class 350mm Steering Wheel
NRG Gen 2.5 Quick Release
NRG Short Hub
Custom Gauge Mount/Climate Control Delete Plate
AEM Electronic Boost Control Solenoid (Controlled by MS)
Innovate G2 Boost Gauge
Innovate G2 Water Temp Gauge
Innovate G2 Oil Temp Gauge
Innovate MTX-L Wideband
| Suspension/Footwork |
Powertrix SS Coilovers
“RobSpec” Sectioned/Shortened Rear Cup
10k/7k Swift Springs
NB Miata Front Sway Bar
Powertrix Z32 End Links F+R
Hard Dog Hardcore “X-Brace” Roll Bar
Hard Dog Harness Bar
Garage Star Delrin Door Bushings
| Exterior |
GV Replica Front Lip
Rear Bumper Cut
BWR Quick Release Bumper Kit
KG Works Spoiler
OEM Hard Top w/ Garage Star Solid Mounts
Much Roll. Very Flare. Wow.
| Cooling |
Mishimoto Radiator + Dual Fans (Controlled by MS)
Mishimoto Coolant Reservoir
SuperMiata Coolant Re-Route with DIY Hose Route
Lower Radiator Hard Pipe Delete (Straight Route)
Garage Star Cooling Plate
| Sound System |
90’s Head Unit
Two Blown Speakers
iPod that works sometimes (R.I.P. January 2016)
| Deletes |
Power Steering
A/C (Factory)
Cruise Control (Factory)
Interior Climate Control (Retained Blower Fan)
Airbag & Sensors
Wipers
Carbon Canister
Windshield Washer Tank
Trunk Interior / Spare
ISCV
Air Valve
Rear Bumper Support
2250lbs, Full Tank / No Driver
What alignment specs do you run?
I’ve always run the 949 Racing “Dual Duty” alignment or very similar. Their alignment settings and suggestions can be found here.
Can you give us a parts list for the Broke & Boosted build?
This is one of my top requested items, and I did the best I could to give a comprehensive list of what I used in the build. Some items may be close substitutes, or have further explanations of why I would or would not recommend a certain part. I’ve broken it up into the major sections of the build to make it an easier read. Please contact me if any of the links are expired or broken!
The hot side.
Turbo – T25/T28 Hybrid Sold by Bell Engineering
Would I recommend it? No. It has slow spool-up and not so great top end power. It did make 236whp on my other car, which don’t get me wrong, was very fun; but I would recommend either going full eBay turbo for $180-$200, find yourself a used SR20 T25 from forums like Zilvia.net or Miataturbo.net, or go all out and buy a Garrett GT2560R or GT2554R for $900.
Manifold – Ebay Cast Iron T3 / 1.6L
If the link is broken, they’re just not available right now. They usually show up for a month or so then disappear for six months or more. I honestly don’t have any complaints about this thing though, it’s solid so far. Again, better fit and finish is available with a Flyin Miata or Bell cast manifold, and for $375-$400 it’s really still a good deal. Avoid these like the plague, they’ll break within a few days and you’ll have to replace it with a better quality unit that will mount the turbo differently, forcing you to buy a new downpipe as well. You can thank me later.
Exhaust Studs For Converting The Manifold to T2
These aren’t the exact studs I used, but they probably come from the same factory. Measure up how long you need yours to be, M8 is the standard diameter for turbo studs. An easy solution is just buying a T3 turbo if you have a T3 manifold already. [How did you convert a T3 manifold into a T2?]
Small detail, but do you like changing them often? You want your gaskets to be this style. Avoid using gaskets that look like this.
I took something like this to my exhaust guy and told him “here, please connect my turbo to the rest of my exhaust.” And my downpipe was born. Someday I’ll buy a welder. The rest of my exhaust system is 100% stock. Avoid these, they’ll crack in one day.
The cold side.
Ebay intercoolers have proven themselves to be halfway decent. From my research, the only thing to look for is the “bar & plate” style; avoid “tube & fin.” As far as size, I’d recommend getting the 27 x 7 x 2.5 and getting it to fit. If you have no AC it will be easy. If you have AC, you’ll need to get a little creative with the dryer, but it can be done. I have the 19 x 6 x 2.5 but I think the larger one will actually let more air into the radiator and condenser because the intercooler end tanks won’t be blocking the mouth so much. And bigger = colder air = power & street cred.
Good old Ebay again. Seriously, it’s hard to mess up a pipe, just pick one and roll with it. You will most likely have to cut a couple pieces to fit which can be done easily with a hacksaw. You may also need to add special pieces that are not included, which can sometimes be found individually on Ebay or from one of my favorite sites, Silicone Intakes. Their stuff is a little more expensive but much higher quality, the IC piping on my fast car is all from that site. (Protip: The 1.6 AFM takes a 2.75″ coupler, so you’ll probably need a 2.75″ -> 2.5″ reducer there.) Speaking of quality, the one major disappointment of the Ebay piping kit was the t-bolt clamps, they’re awful. I had a boost leak at every coupler and it was killing my spool up. My solution was to crank them down as tight as they go. Not saying they’ll all be like that, but that shows why boost leak tests are SO important.
This was before I converted to MS and I still needed to use the factory AFM. The converter works excellent. The filter however has reports of destroying the turbo via releasing the little chrome disc from its center into the compressor wheel spinning at 100,000RPM+. Throw it away and just spend the $40 for a K&N.
The wet side.
Vortech FMU (Fuel Management Unit)
I have either a 10:1 or 12:1 disc in mine, I’m not sure. Either disc will max out the stock fuel pump at around 4psi of boost, so it really doesn’t matter which you choose. If you have an upgraded fuel pump, you might need a less aggressive disc in yours, because the pump may be able to produce unsafe fuel pressure for the stock injectors (above 100psi). A stock fuel pump will usually max out around 75-85psi regardless of the FMU, so you don’t need to worry about it. (I have a stock fuel pump).
Basically a ghetto version of this. It probably doesn’t work as well, but I’ve had reports that it fixed some hesitation issues on some people’s car so that’s good enough for me. This mod does not add additional fuel in boost! All it does is cut off the o2 sensor signal as soon as the engine transitions into boost (Above 0psi) so the stock ECU will not stay in closed loop (you don’t want the ECU targeting 14.7:1 AFR after you’ve crossed into boost).
The sparky side.
The major performance inhibitor of a true “Broke & Boosted” setup is the lack of timing control. Since I had to retard the CAS to keep the timing safe IN boost, the car was an absolute slug OUT of boost and off the line. A solution to this is get an auxiliary ignition control unit that will pull timing as the engine goes into boost, but if you’re going to start getting into piggybacks, the better solution is just to go Megasquirt in the first place, trust me. Side note, if you’re getting spark blowout (complete loss of spark above a certain psi), try gapping the plugs down about 0.005″ at a time, at low boost you probably won’t need to go under 0.030″. You also might need to go one heat range colder than stock. I run 6 in Broke & Boosted (NGK BKR6E), 7 in the fast one (NGK BKR7E. Higher numbers are colder.
The fitting side.
Now onto the real witchcraft; lines & fittings. I have listed below all of the sizes and threads for the fittings and lines I used on the project. Keep in mind that if you’re anywhere outside the U.S. the sizes you have access to might be metric, please don’t hurt me for using inches. To find all this stuff, 95% of it came from me going on Ebay and typing the size in, and voila. A few things came from hardware and auto parts stores.
Oil feed for the turbo:
- Line – Braded steel line with a 4AN fitting at each end. I use a coat hanger to mock it up and figure out how long it needs to be.
- Block fitting for a 1.6L and 1994/1995 cars – M10x1.5 on one side and 4AN on the other to match the line. Example
- Turbo fitting – 4AN on one side and match your turbo on the other. Simply search “T25 restrictor” or whatever you need. I’ve always used 0.040″ (1.0mm) restrictors with good luck on both my ball bearing and journal bearing turbos. Example
Oil drain for the turbo:
- Turbo fitting – 5/8″ T25 drain kit. Example
- Oil pan fitting – 5/8″ barb on one side, 3/8″ NPT on the other. Example
- Hose – 5/8″ rubber hose from auto parts store
Water lines for the turbo:
- Basic T25 water line kit that includes the CHRA fittings. Example
- I added these fittings in place of the included ones so I could adapt down to the stock thermostat housing lines. See my water line video for further clarification.
Air fittings:
- Vacuum line fittings for the intercooler piping are 1/8″ NPT on one side at 1/4″ barb on the other. Example
- ISCV fitting is 3/8″ NPT on one side and 3/4″ barb on the other. That one was a little tough to find. Example
- Breather port fitting in the pre-compressor piping is 3/8″ NPT fitting on one side and 3/8″ barb on the other. Example
I feel like I've seen your car on other places on the internet...
That’s because you have! I love collaborating with other YouTube channels and media outlets. Check these out!
Cars OnBoard Short Film [Also see: Behind the Scenes]
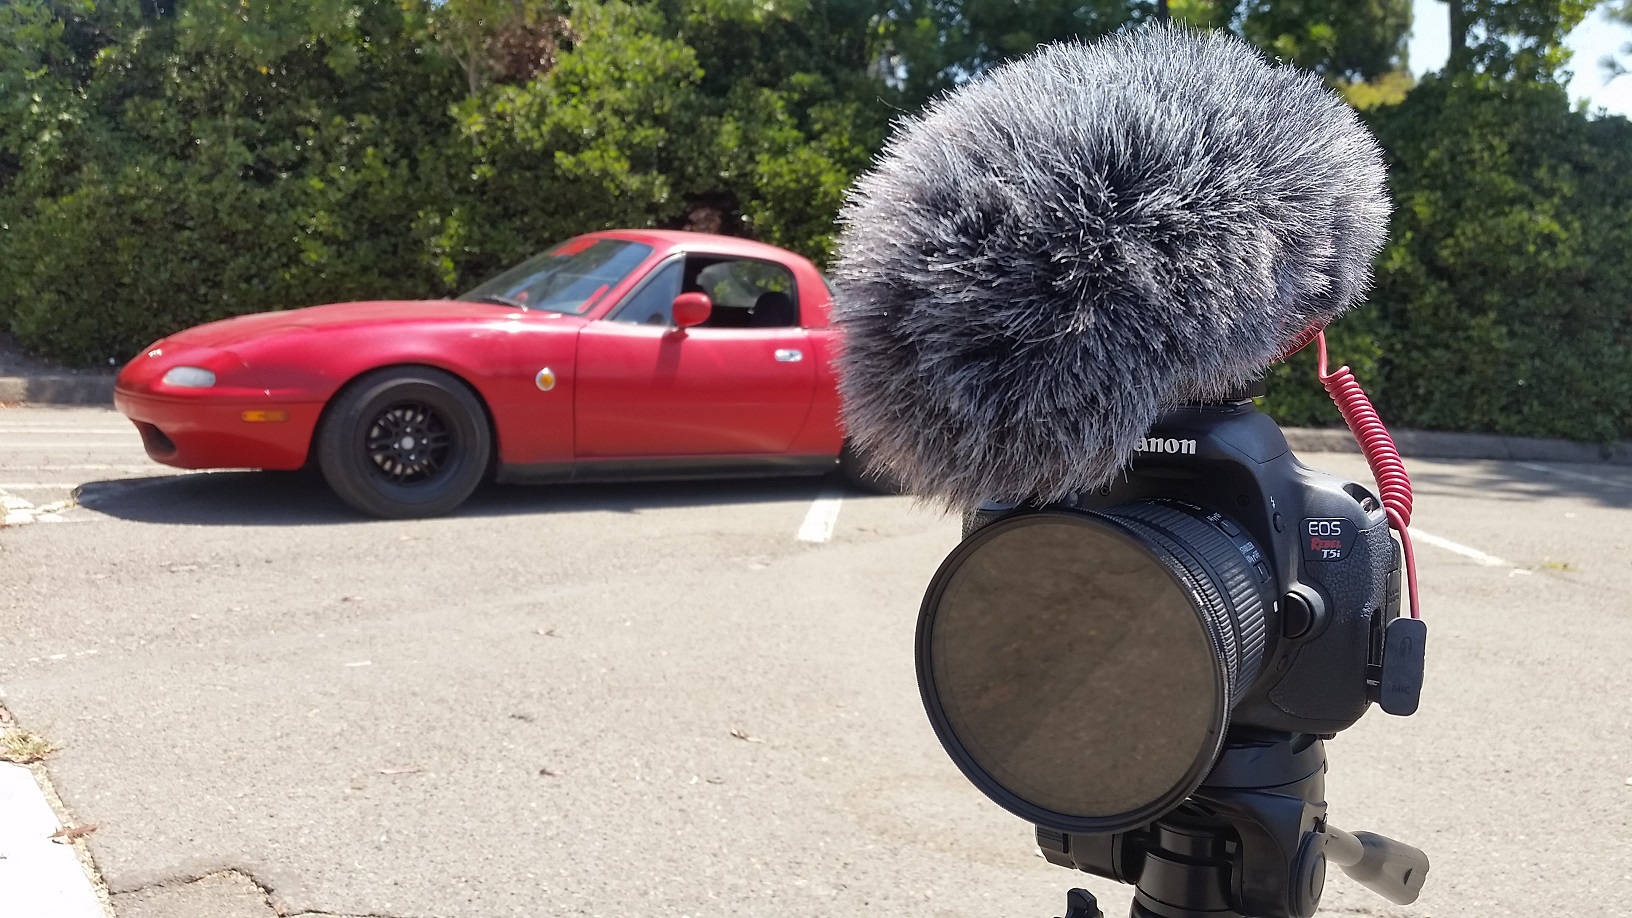
What Kind Of Camera & Sound Setup Do You Have?
Any video posted after the middle of December 2015 was filmed with my Canon T5i, Rode VideoMic GO + DeadCat, and a variety of Canon lenses depending on what kind of shot I’m filming.
What Can We Expect In The Future Of Your Site?
I can’t predict everything that will go up here, just like my YouTube channel. Tentative plans include a shop, extended product reviews, and full coverage of my VVT build.