Let me preface this article by informing you that I am not a professional mechanic. Cars are my hobby and I’ve been doing all of my own work on them since I got my first car in 2005.
If you see something that could be done differently or better than how I have it laid out here, let me know about it! I’m all about putting out good information. Okay onto the fun stuff!
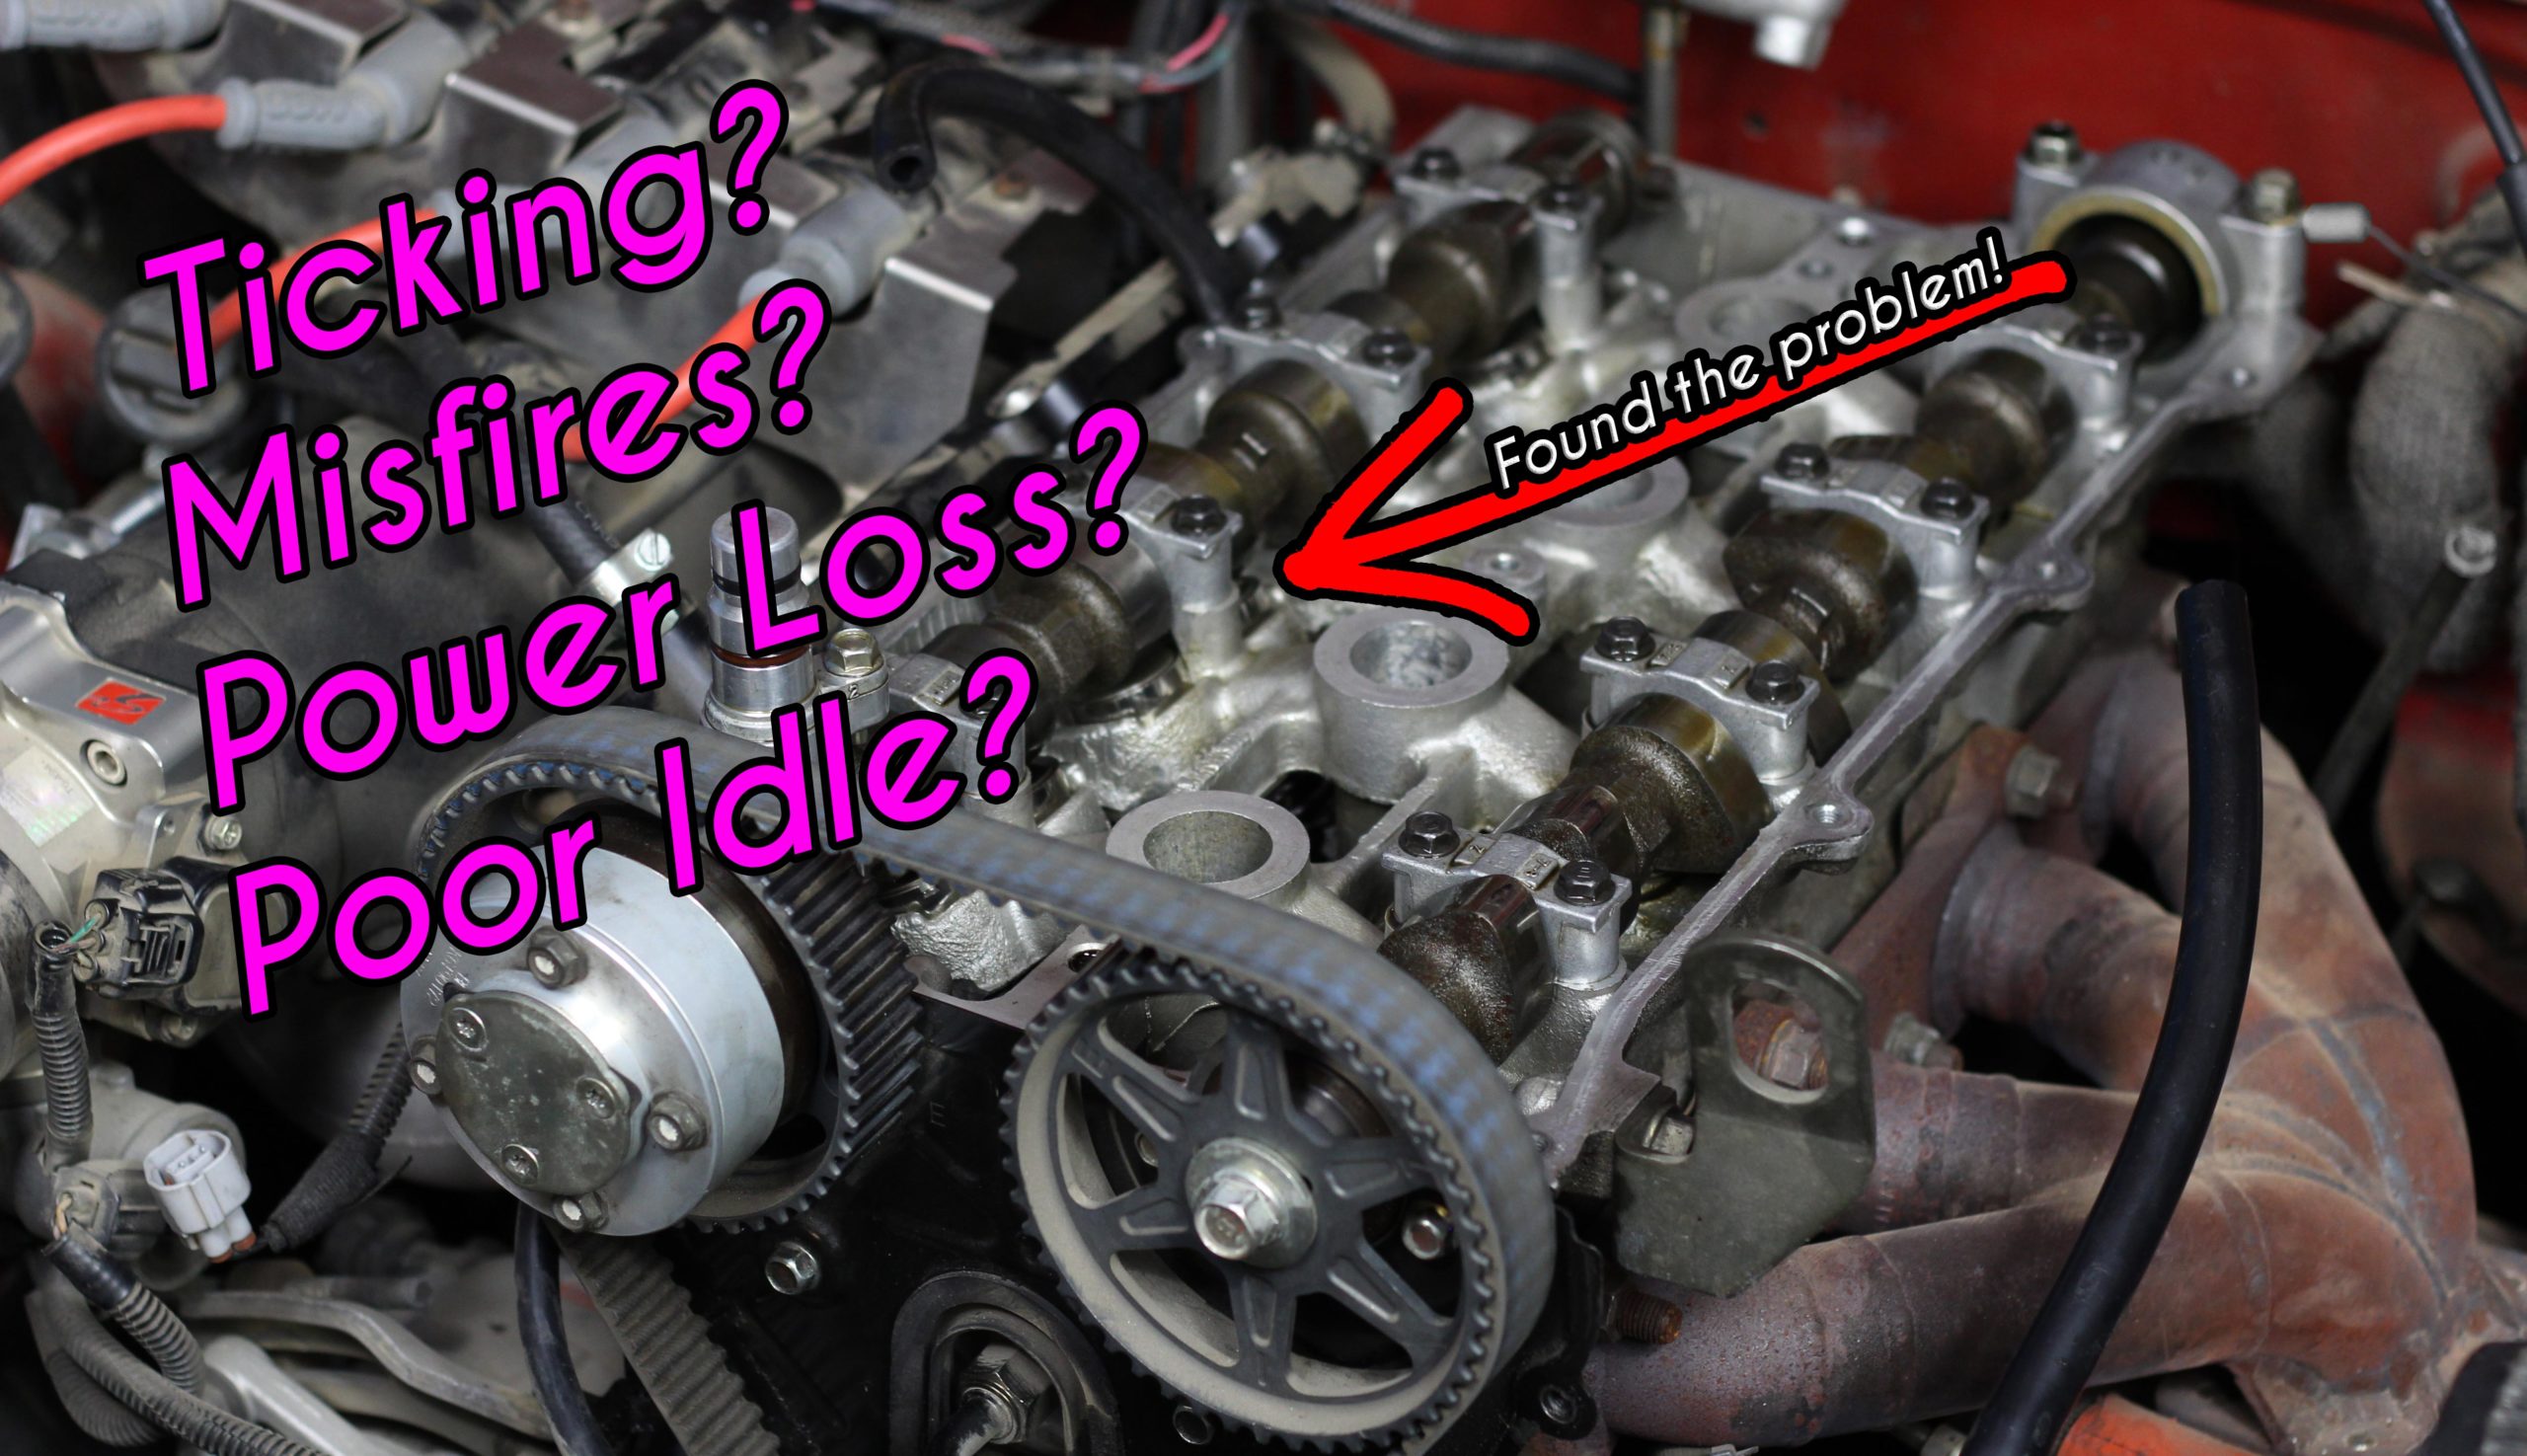
Before the actual seal replacement begins, you need to be able to get this far. Front covers off, cams and lifters out. If you’re uncomfortable with removing your camshafts or setting up the cam timing on your engine, you may want to bring your car to a professional to have the seals done. For the record this car is a 1.6L, but I’m sure 99% of the procedures found here will apply to the 1.8L engine as well.

Here’s the complete list of tools I used for the entire procedure (including cam removal, etc):
- 3/8” Drive Ratchet & 6” extension
- (2) Torque wrenches, in-lbs & ft-lbs
- 10mm (deep), 12mm, 14mm, 21mm sockets
- 5/8” Spark plug socket
- Long tipped needle nose pliers
- Straight pick
- (2) Shoelaces OR nylon rope
- Long flat head screwdriver
- Neiko valve spring compressor (AmazonDOTcom, $60)
- Zip ties & diagonals to cut them
- (16) OEM Mazda valve stem seals
- High temp silicone sealant (for the cam caps)

While I’m at it, here’s a list of “While you’re in there” items that could be easily done if your car is due:
- Spark plugs
- Spark plug wires
- Valve cover gasket
- Timing belt / tensioner / idler
- Alternator belt
- AC / power steering belt (if equipped)
- Lifter rebuild or replacement
- CAS O-Ring
- Cam seals
Once you’ve got your lifters out you’re ready for business. Remove all of the spark plugs and drop your long screwdriver into the #3 cylinder spark plug hole (FIG 1). Crank the engine by hand with your 21mm socket on the crank pulley until the screwdriver starts to rise and stop when it reaches its peak. Piston #2 and piston #3 are now at top dead center (TDC) which means piston #1 and piston #4 are at bottom dead center (BDC).

Next up start feeding your shoelaces (I used two tied together and it worked perfectly) or nylon rope into the spark plug hole for cylinder #1. You want to get it pretty full, then crank the engine by hand again, bringing cylinder #1 back to TDC (or as close as you can, the rope will probably stop it from going all the way up, which is perfect).

Now it’s time to set your tool up. This tool has many different options when it comes to setup, it really is a versatile, quality unit. You may still have to get a little creative like I did for your mounting.


After you get that all figured out, you’re ready for the real fun! I try to set the tool up to be at the same angle as the valve I’m working with so it’s pushing directly downwards. You may have to play with a couple of combinations on the tool to get the right angle and the right amount of stroke (especially on the intake side where the manifold tends to stop the tool from compressing the spring enough). Here’s why I prefer using rope in the cylinders over the compressed air method: Most write-ups say to fill the cylinder with 100psi to hold the valves in place while you compress the spring. I believe the stock intake valve diameter on a 1.6L is 31mm. A quick calculation tells me that the 100psi in the cylinder is putting about 117lbs of upward force on that valve. I can tell you on at least half of the valves it took over 100lbs of force to crack the retainer loose from the keeper. I certainly don’t want to break the seal of the cylinder and have my valve go plowing into the top of the piston with my weight behind it. At any rate, to each his own.
What you want to do is pry downwards on the tool, pushing the retainer down the valve stem and freeing the keepers. The keepers will probably stick to the valve stem, so you want to have a pick handy to flick them off. Once they are free, slowly release the tool until the spring is fully uncompressed. I’ve included a rudimentary drawing as well. (Base picture from TheAutoPartsShopDOTcom modified with my mind blowing MS Paint skill)


Use your magnet to carefully remove the keepers, retainer, and spring. If you drop a keeper, you may never find it, so be careful!

Look at that old seal. Who knew such a tiny culprit could generate smoke screens that would have James Bond looking to use a high mileage Miata in his next movie.

Now you’re going to grab the seal by its metal sleeve. Be very careful not to scratch the lifter bucket or valve stem! Twist a bit while pulling straight off the valve, they took a little muscle. As long as you pull straight up, you won’t contact anything else on the way up, except maybe your elbow on the hood. (Possibly several times).


Here’s what most of them looked like after removal, I’m guessing these are the original 22-year-old, 189,000 mile seals in this head.

After removing the seal, you can see the groove that you will feel the new seals “pop” into. I always like to check things like that out so I can get an idea of how much pressure to use / how far to go when installing the new units.

That’s a fresh looking seal! I opted for the more expensive OEM Mazda seals. For things like this, I believe nobody does it better than the manufacturer. And if I have to replace them in another 150,000 miles, I won’t be bummed.

Here’s a little trick that makes it easy to drop the seal where you want it. Hold the seal on your pick, line it up with the top of the valve and drop the seal. Pictures describe it better:


Now take your 10mm deep socket on an extension and place it lightly on top of the seal. I moved it in a circular motion to eased it over the top of the valve stem, pushed it to the bottom, and felt it “pop” into place. I’d say it takes around 10lbs of force. Now all you have to do now is reverse your steps. That’s easier said than done, so I have some more pictures for you!


Drop your spring back in, followed by the retainer with the keepers. FIG A shows one keeper facing each way. Notice how one side is fatter? The fat parts go up. You can now drop the retainer on top of the spring with the keepers in it.


Are you ready for the trickiest part of the whole job? There are a couple of different techniques I used when getting these things back in place. One is to place your finger on top of the keepers, compress the spring, and sometimes they go right into place and lock in the retainer upon releasing the tool. Probably 25% chance, at least the way I was doing it. Make sure the keepers are in place before fully releasing the spring! Go slow and make sure they aren’t getting crazy on you. If that method doesn’t work you can also use your pick to move the keepers into place. This takes patience and the stability of a surgeon’s hand. The keepers will be flipping all over inside the bucket, basically doing the Hokey Pokey in the most taunting fashion possible while you sweat trying to keep the spring compressed. They will go in, trust me. Be patient. In the picture below, the keepers are in position and you’re ready to release the spring compressor.

Once everything is back in place, it will look something like this. Don’t worry about the keepers being perfectly centered, it doesn’t matter. That wasn’t so bad, right? Only 15 more to go!

Side note: A round nylon rope may work better than the shoelace method for one reason. First time I went to pull the shoelace out it was stuck and I about had a heart attack. It was just pinched under the valve. I just took a large socket and pressed each valve down by hand until I found the one it was pinched under and it came right out. I did like the shoelace because it was super easy to get into the cylinder using my TDC tool (long screwdriver).
The test drive: always the best part! I coasted down a long hill, probably about ½ mile, off throttle the whole way. At the bottom I punched it, and where before it would generate more smoke than a Bob Marley concert, there was none to be found! Operation successful!


